So you’ve created an amazing piece of content on your blog and you’re ready to Pin that bad boy so you can get all that traffic from Pinterest, right?
Well there’s some things you need to do before you get all Pin happy with your latest creation.
I’ve created this little checklist to help you know what to do BEFORE you make that Pin so you can ensure you get all the traffic you can for your Pinterest marketing efforts.
Here is everything laid out for you step-by-step:
Step 1: Before you begin Pinning of course you need to make sure that your Pinterest profile is optimized and setup correctly. This includes making sure you have your boards named with your keywords and you have relevant Pins on those boards. They can be your Pins or you can Pin other people’s content. Just make sure they are full of really good content that is related to the keyword of your board. This is a big indicator to Pinterest that this is information people want when they are searching for the related keyword.
This is absolutely vital! If you’re not ready to use Pinterest all of your efforts from here on out are for nothing. You just wont get the traffic you need.
Side Note: Need help with your Pinterest marketing? Click here to attend my Pinterest Traffic Takeover Workshop! Use the coupon code: 50OFFPIN to save $50!
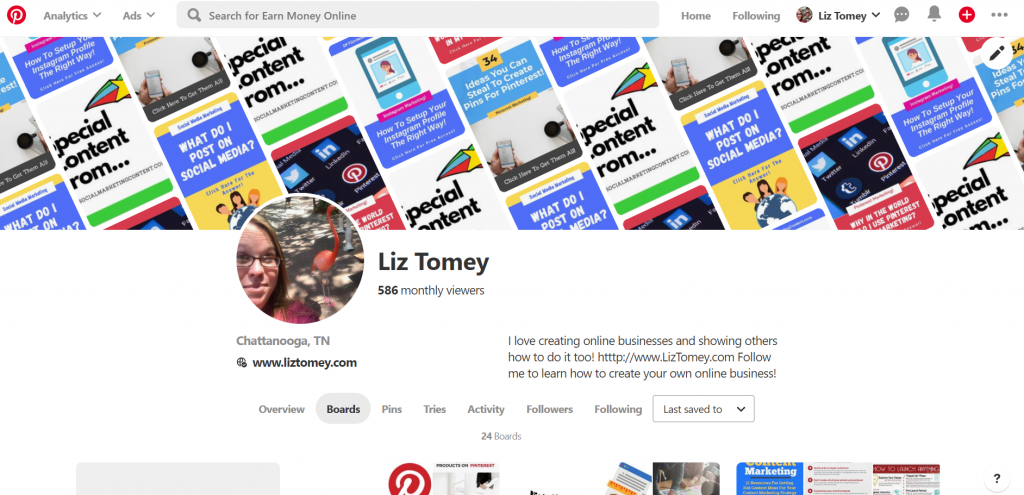
Step 2: Creating an image for your Pin is a necessity if you’re going to be Pinning your content to Pinterest. Make sure you do your research on creating Pin images that look GREAT, and how to create ones that actually get people to CLICK.
No clicks = No Traffic = 🙁
Hot Tip: Make sure you have a call to action on every Pin you create. It will send your CTR (click through rate) through the roof!
Hot Tip: Make sure you have a call to action on every Pin you create. It will send your CTR (click through rate) through the roof!Click To TweetWhen you’re creating your images also make sure that you have 2-3 different designs to get you started.
Why?
Because you can Pin your content multiple times. Just have a new image for each time you Pin it. I should have probably put Hot Tip: before that little bit of information because it’s truly a hot tip and how you can get your content all over Pinterest.
Step 3: Hashtags are back on Pinterest, and you need to be using them. If you already have Pins over there don’t go back and add them as Pinterest doesn’t look at old Pins for new hashtags. The best way to gather your hashtags is to use the keyword research tool within the Pinterest advertising platform. You’ll need a business account for this, but you can find what people are actually searching for on Pinterest with that tool. Another Hot Tip: 🙂
Once you’ve done your keyword research turn your keywords into hashtags. I recommend using a few lower search keywords so that you can be found EASILY with hashtags instead of the big popular ones. Yep! There’s another Hot Tip:
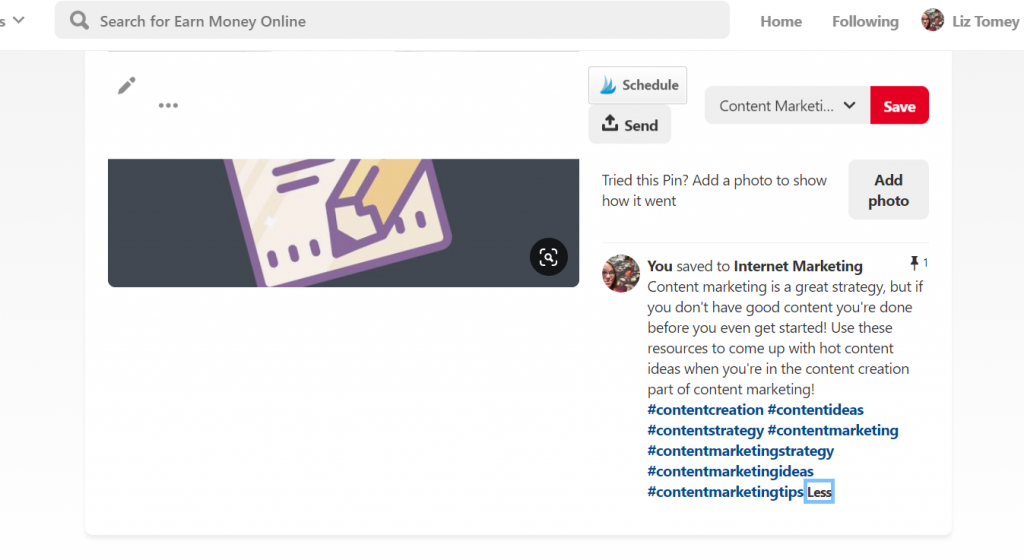
Step 4: Keywords are going to come into play here too. You need to make sure you have a good description (notice my description above) that also contains your keywords. Don’t try to stuff them ALL in there. Just write a natural description that would make someone want to read your content and sprinkle your keywords in that description.
Okay now I’m going to give you the hottest tip of all the Hot Tips: I’ve given so far…
Step 5: Get the Social Warfare plugin and USE it. This is only for those of you who have your blog on WordPress (if you don’t, what are you even doing?), and it’s a plugin you can get and install and unleash the power of Pinterest on your blog post.
When you go and make your blog post there are a few Pinterest’ing (that’s punny) things you can do.
My favorite function is where it auto-populates the image, description, and hastags when someone clicks to Pin your post to THEIR Pinterest account.
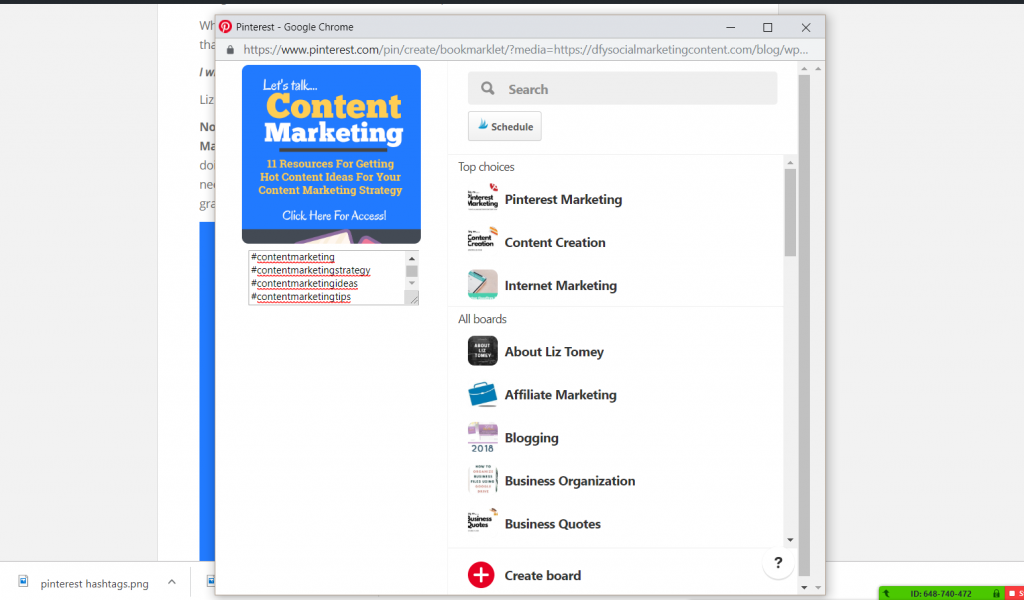
YES! I love love love automation!
You never know what people are going to Pin for your content, so forcing them to use the right image, description, and hashtags is BRILLIANT!
Plus you can Pin right from your post once you have it done because this plugin also puts a “Save” button on your images when anyone “hovers” over the image!
There’s many other functions with this plugin too, but that’s not what this post is about. I just want to get your ready for Pinning, and this plugin does so much automating for you that I had to mention it.
At this point you’re ready to Pin that gorgeous piece of content you’ve just worked so hard to create.
I highly recommend having a “Pin strategy” for every piece of your content that you post to Pinterest.
Here’s what mine looks like…
Day 1: Pin my Pin to my most relevant board.
Day 2: Pin my Pin to the next most relevant board.
Day 3: Pin my Pin to the next most relevant board.
I do this until my Pin is on ALL of my relevant boards. Notice I said RELEVANT. ONLY Pin your Pins to boards that are relevant to the topic of your content.
I’ll then circle back around and Pin again, but with a different image.
Imagine if you had 3 Pin images to begin with? Your content would be on Pinterest 3 times right out of the gate. Get it on there more by creating even more images. 🙂
Okay… So there you go. Now you know exactly what to do to BEFORE making a Pin to Pinterest for your content and get the most traffic from your efforts. If you can put in just a little effort combined with a good Pinterest Pinning strategy, you’ll see that it will pay off big time with lots of traffic!
Recommended Resource: Are you looking for ways to use Pinterest to get a ton of traffic to anything you want? Want to learn how to optimize your Pinterest account and how to create branded keyword rich Boards to add your Pins to? Want to create the best Pinterest strategy for the most traffic? Then I invite you to attend my Pinterest Traffic Takeover Workshop. For 5 days you can watch everything I do to use Pinterest to get traffic to anything I want, and do the same thing for your own Pinterest marketing. Grab your seat at LearningIM.com/pinterest-traffic-takeover Use the coupon code: 50OFFPIN to save $50!
